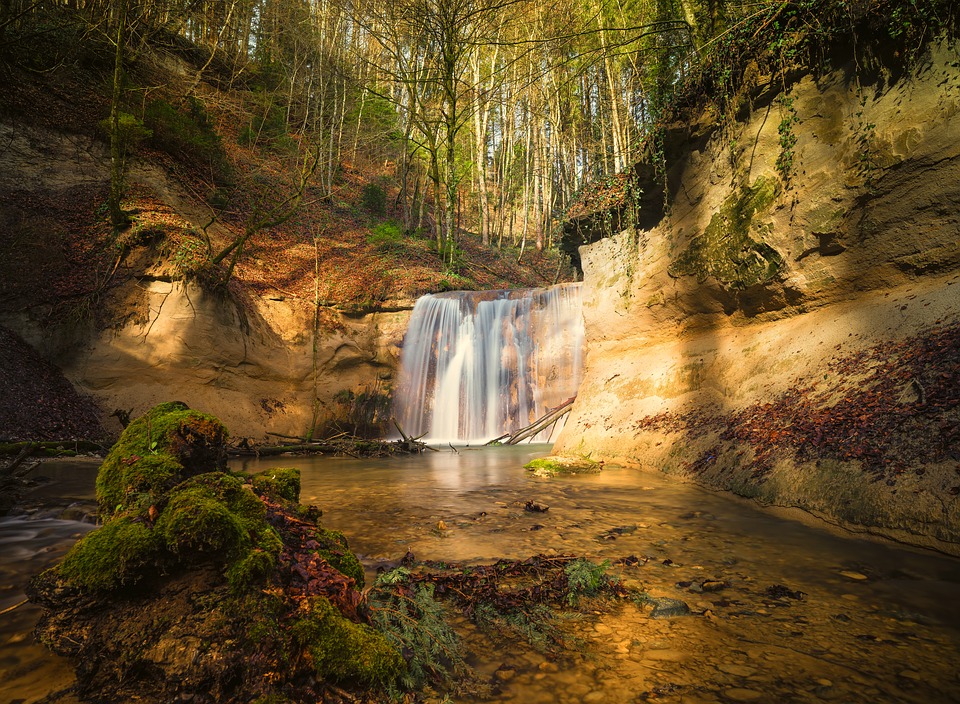
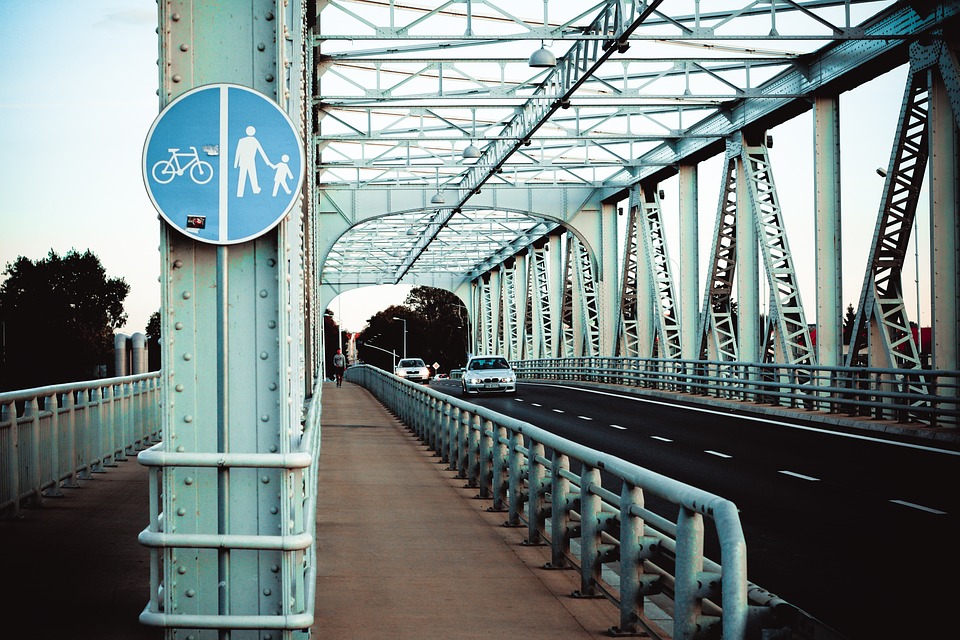
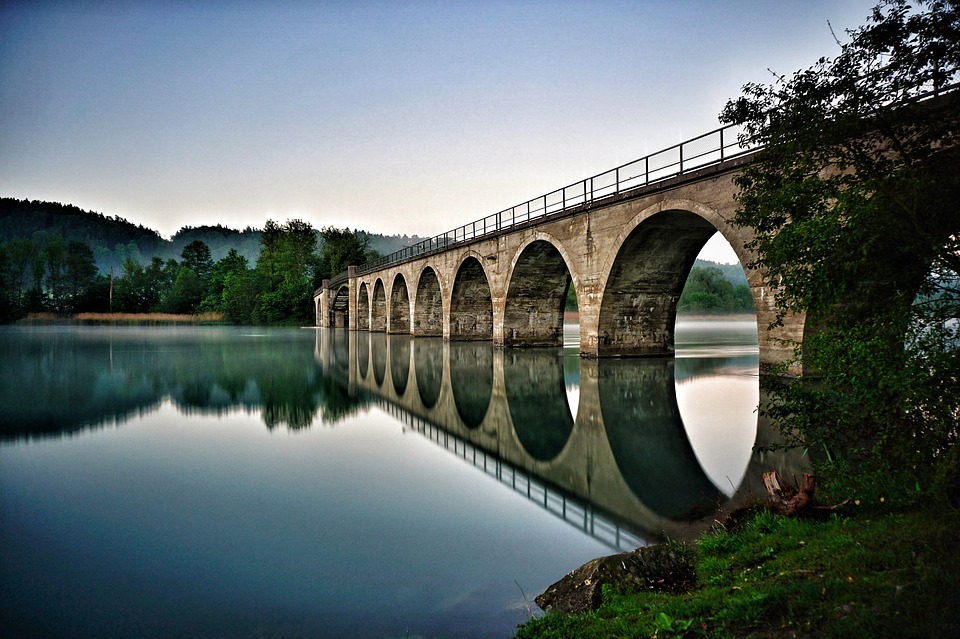
Long exposure photography has the ability to bend reality, making everyday scenes look a little bit mystical and fantasy like. You will recognise this type of technique in images of the sea, where the waves look satin-like and smooth, almost smokey. Or in cityscapes where traffic gets turned into red lines on the roads.
Moving objects in long exposure photography get distorted, leaving a fantastical contrast with the inanimate objects in the shot (such as the rocks under a waterfall or the buildings and bridges in a cityscape). The technique uses a long shutter speed to create beautiful, striking images. If you are as in love with long exposure photography as we are and are looking to hone your skills in the area, here are some top tips to follow.
1. Use A Tripod

This cannot be stressed on enough. As the image captured will be done so through an extended period of time, stable and secure placement of the camera is imperative for that period. Your camera cannot be moved or tilted in any way or it will ruin the sharp contrast between the stationary and moving objects. You could use makeshift materials such as a table or flat rock to place your camera but these are unreliable and not suitable in every scenario.
When you are looking at shutter speeds of many seconds, which can go on to minutes, keeping your camera still while holding it is impossible. Getting a tripod is one of the best investments you can make for long exposure photography. Usually, more expensive models do tend to be better so buy the best you can afford. A good quality tripod will likely last longer and do a better job than a cheap one.
2. Time Of Day

The time of day can have a huge impact on the quality of the picture you take. When you are playing around with long exposure photography, it is best to take pictures at the times before, during and after sunrise or sunset. The light is gentle and changing which can add some more surrealness to your shots.
Also, because there is less concentrated light, shooting at slower shutter speeds becomes easier. If you are taking shots in bright light make sure you stack the ND filters.
3. Choose Exposure Time Carefully

Keep in mind that things get more blurry and there will be less defined texture as your exposure time increases. Think about what you want your end result to be like and play around with timings to move toward your desired direction. Ideally, you will want a good balance between blur and definition of you to want an image where people can recognise the subject being shot.
For practice, photographing moving water bodies such as waterfalls or waves can help you with your timing. Ferris wheels and moving cars are two other favorites for long exposure photography that can help you grasp the effect timing has on each shot.
4. Keep The Contrast

As we mentioned earlier, long exposure photography produces the best photos when there is something in motion contrasted against a stationary background or subject.
For example, think of star trails against a clear night sky, with a static landscape of fields or mountains. Or water gushing down the still rocks of a waterfall. Without the inanimate objects, the pictures would just be a range of blurs and colours, without any context or way of recognising the subject.
Write by : Keshav Sishta, experienced professional from Singapore video production company

